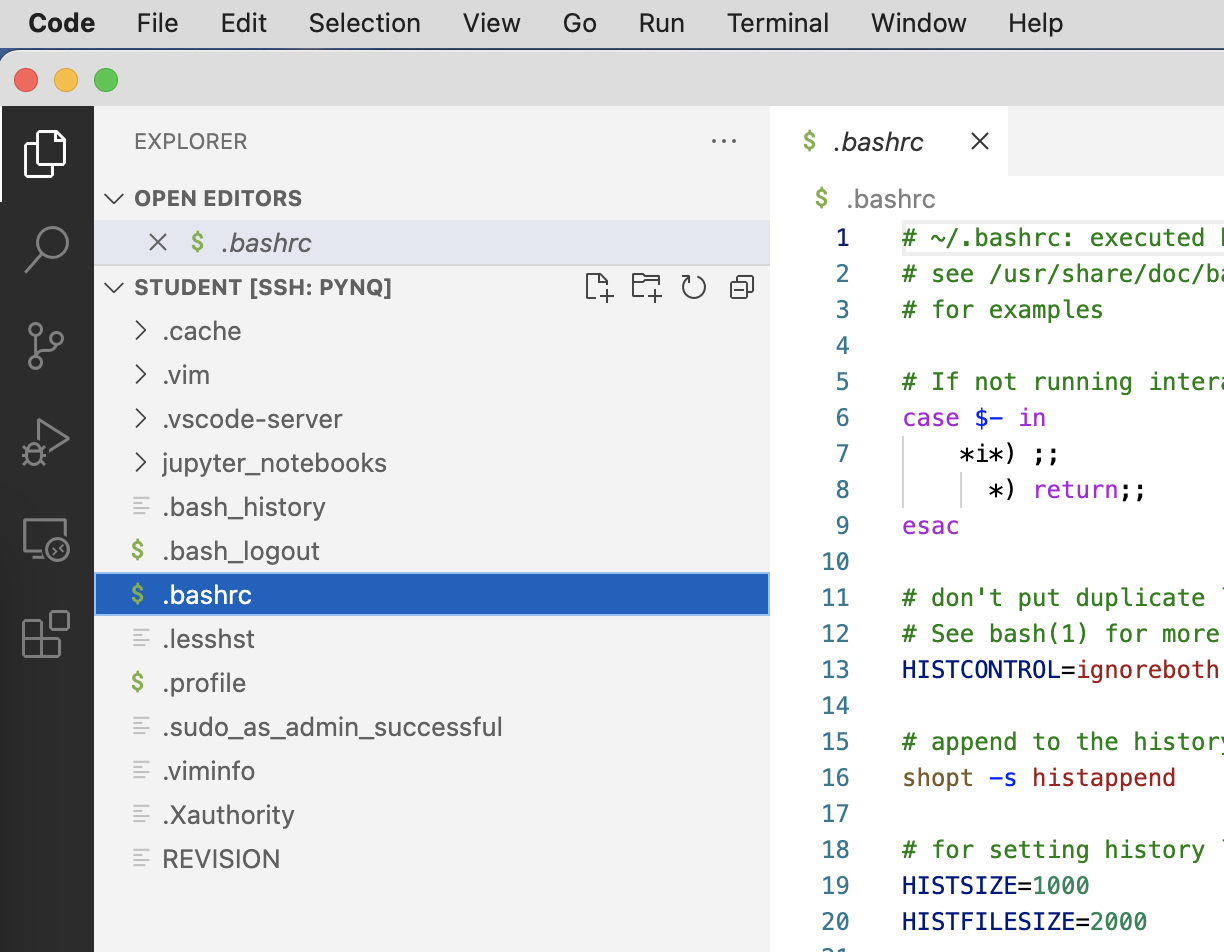
Using Visual Studio Code on Windows to log in to a PYNQ board
Choosing your vscode SSH extension
⚠️ Warning In some cases the SSH connection in VSCode through the Microsoft SSH extension is unstable, as discussed here. The connection may be frequently lost due to timeouts and needs to be reestablished. In that case you may consider the use of an alternative (less advanced) SSH extension for VSCode that mitigates this problem.
This page explains how you can install and use an alternative SSH extension in VSCode that provides stable access to the files on the robot and the command-line. Some advanced features of the original vscode extension may not be available.
If you want to install the Remote-SSH extension, follow the steps below.
You need to install Visual Studio code (Steps 1-2) only once. Every time you use the board you need to log in to it (Steps 3-4).
Step 1: Install Visual Studio Code & extensions
- Go to the official Visual Studio Code website.
- Click on the Download button selecting the Windows operating system.
-
Once the download is complete, run the installation file and follow the instructions.
-
Open Visual Studio Code and go to the Extensions tab (left sidebar).
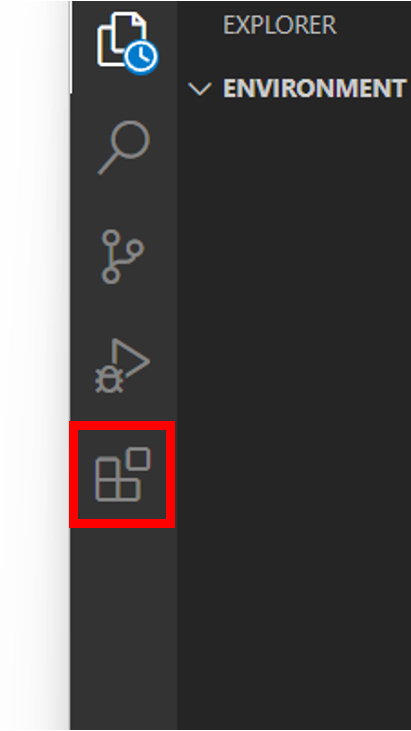
- Search for Remote - SSH in the search bar and select the extension published by Microsoft.
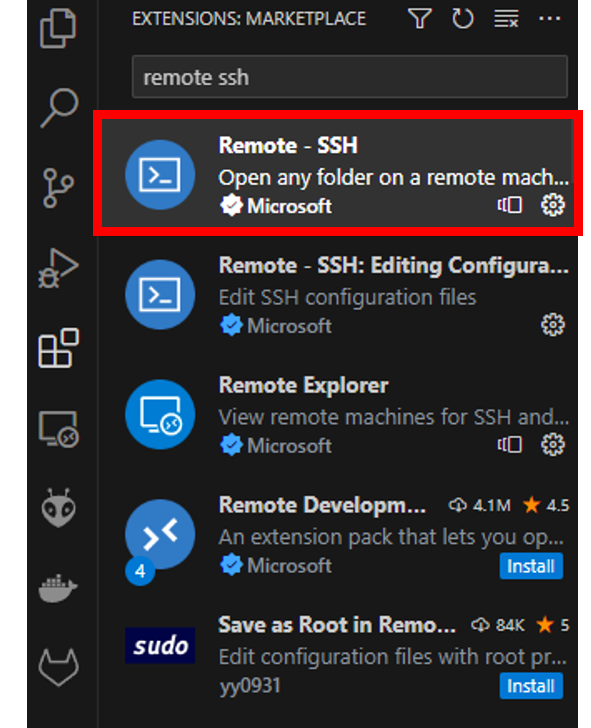
- Click Install.
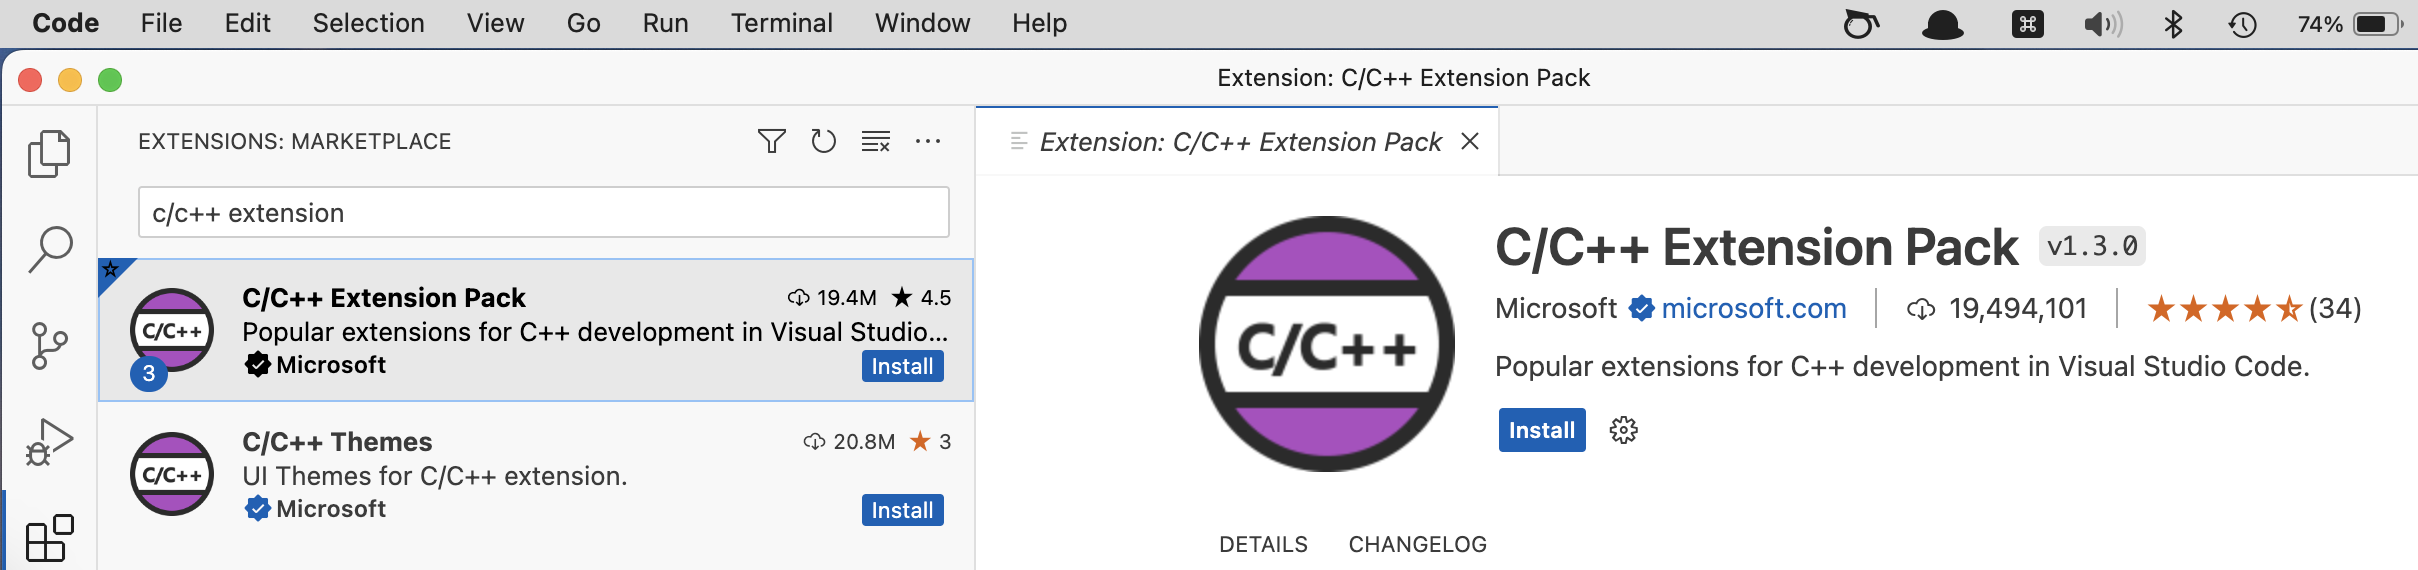
- Install the "C/C++ extension pack" from Microsoft.
(A macOS screenshot is shown, but it'll look almost identical in Windows.)
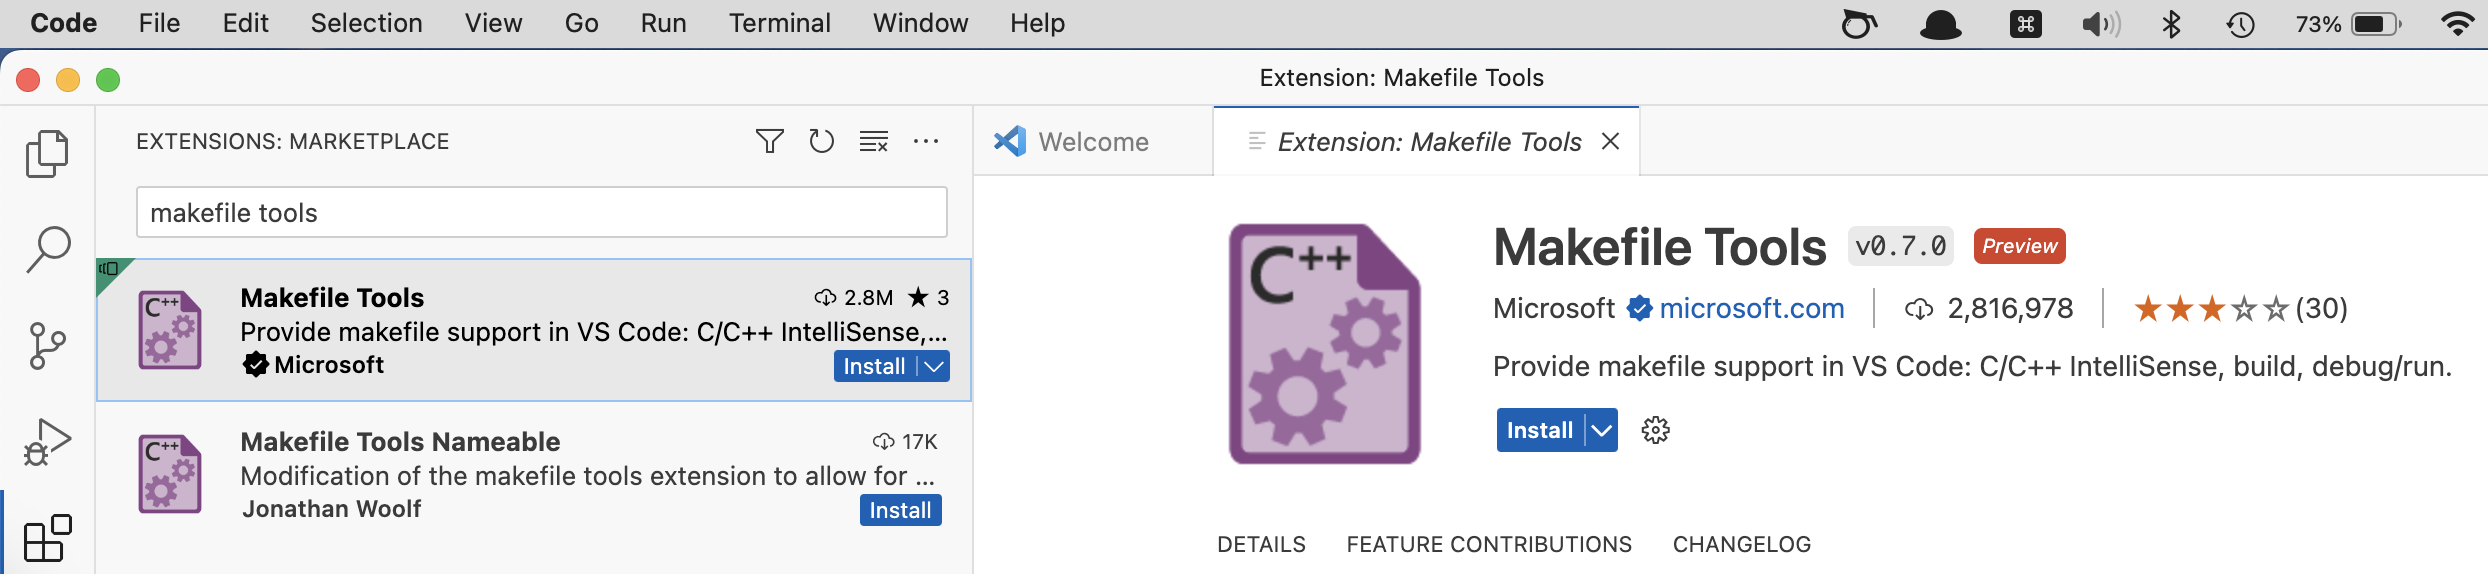
- Install the "Makefile tools" from Microsoft.
(A macOS screenshot is shown, but it'll look almost identical in Windows.)
Step 2: Add PYNQ to the remote ssh extension.
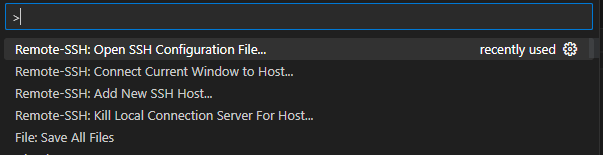
- Open the command palette in Visual Studio Code by either pressing F1 or by typing Ctrl + Shift + p.
- Select Remote-SSH: Open SSH Configuration File...
- Select the config directory that ends in
\.ssh\config.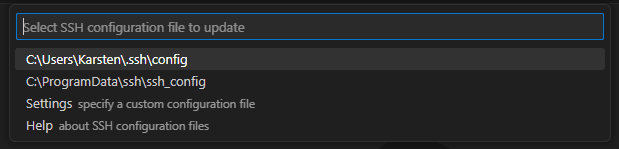
- Add the following lines to the file (you can copy-paste these).
Note that the 4 spaces before
HostNameandUserand the capital letters (e.g.HostNamenotHostname) are important. - Save and close the file.
Step 3: Log in to the PYNQ board
With the configured ssh file, a connection between your laptop and the PYNQ board can be established.
- Connect the PYNQ board and switch it on. Wait until the DONE LED is on.
- Open the command palette in Visual Studio Code by either pressing F1 or by typing Ctrl + Shift + p.
- Select Remote-SSH: Connect to Host (this is also called "logging in").

- Select the pynq profile:

- Select Linux
- When asked about the fingerprint press Continue. (This appears only the first time you log in.)
- When prompted for the password (in the top middle of the screen - it's not very prominent), enter:
student. It may take some time before the screen is updated. - The first time you log in Visual Studio Code takes some time to initialise itself. When you log in again, it is much faster.
Step 4: Explore the files on the PYNQ board
Open the Explorer to see the files on the PYNQ board.
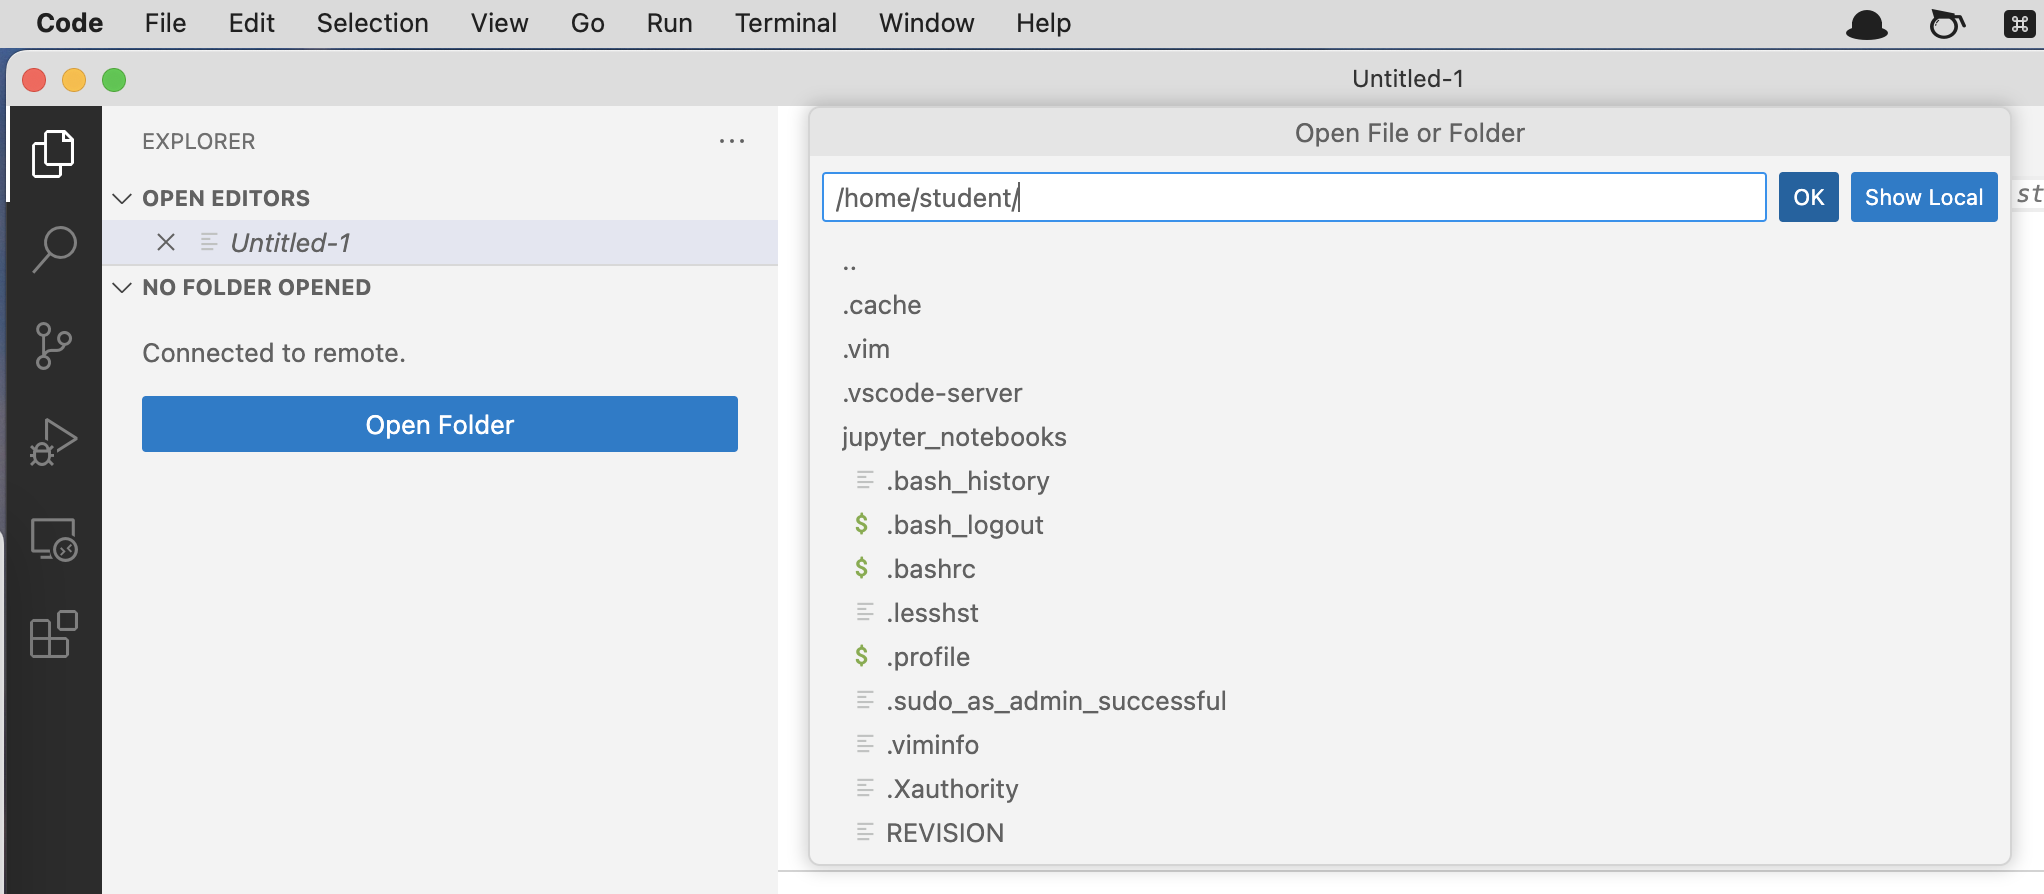
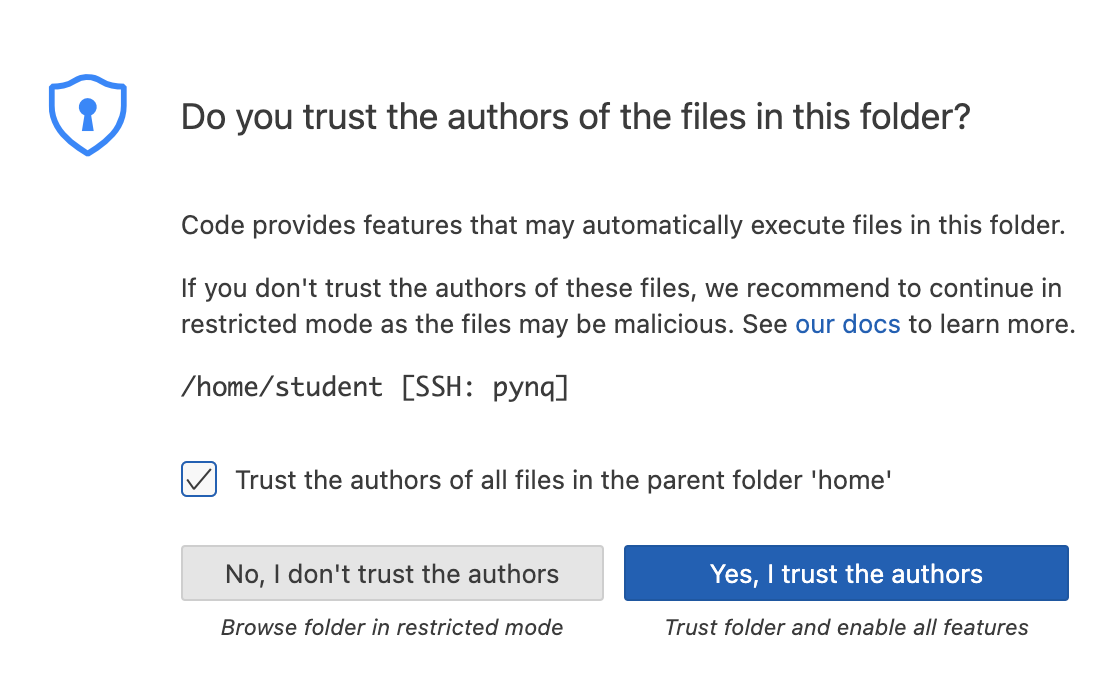
The first time you log in, you'll get a pop-up asking to trust the authors of the files.
Also select the Trust the authors of all files in the parent directory 'home'.
As an example, we've opened the .bashrc file.